-
Small Business
Shop
My CenturyLink
Support
- Enterprise & Wholesale
Business help
Adding a node to a hierarchy in Bill Analyst
After you create a hierarchy, you add nodes to it using the Tree Builder tool.
The nodes represent your organization’s divisions, departments or other cost centers; they’re the children of the topmost node. Give each node a descriptive name and corresponding general ledger (GL) code (you can edit a node description later if you need to).
You’ll need to assign accounts and services to the nodes; you can also split services between nodes to assign costs across multiple groups that share a service. Move nodes or remove branches (nodes) when your organizational structure or reporting needs change.
Make the hierarchy you want to edit the active hierarchy when you access Bill Analyst.
To add a node to a hierarchy:
- Sign in to Control Center. (Get help retrieving your username or password.)
- Click Billing, then click Bill Analyst.
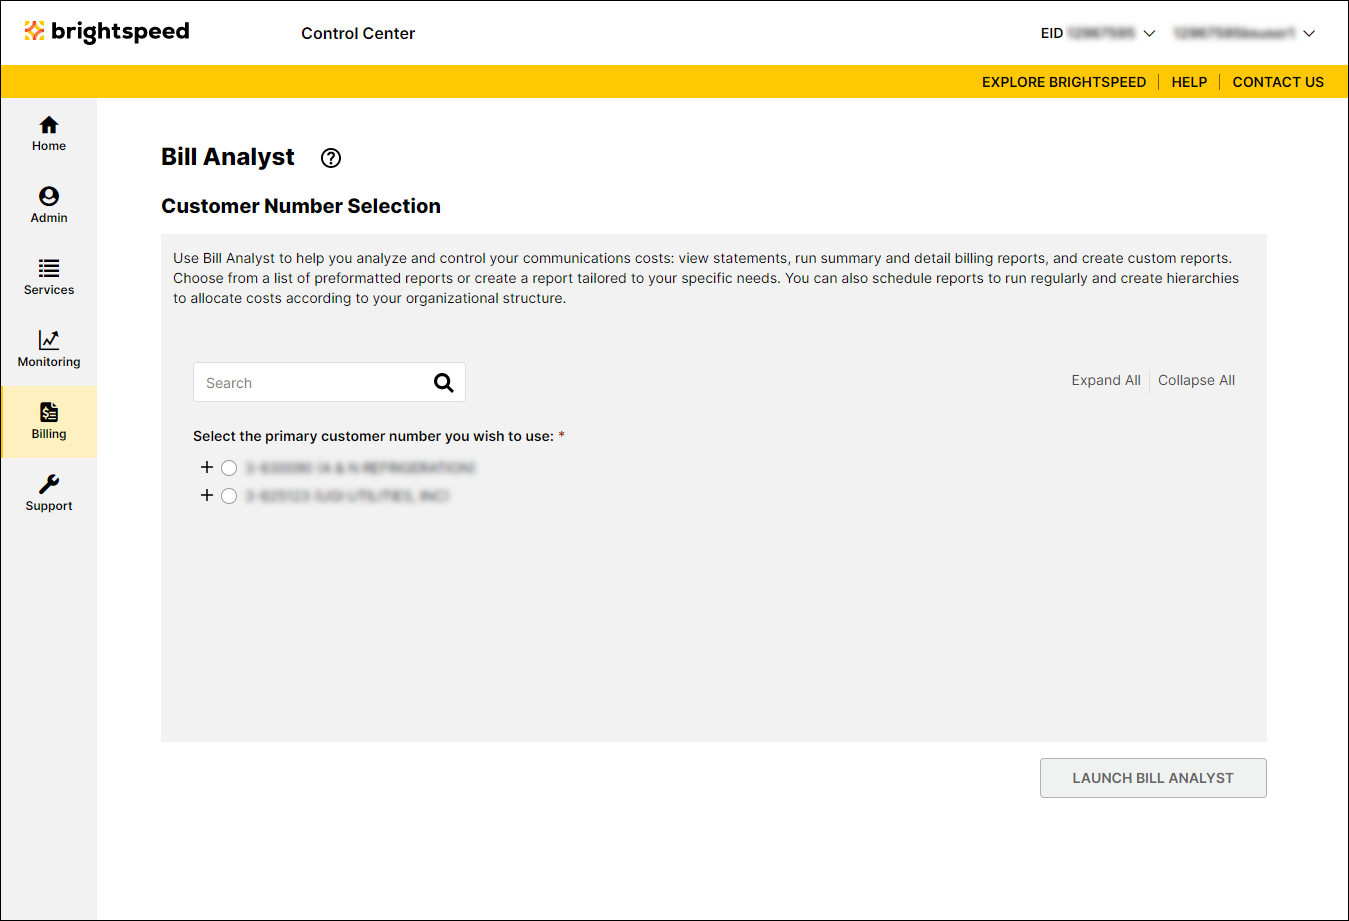
- Select the radio button next to the account you want to view, then click Launch Bill Analyst.
Control Center opens Bill Analyst on a new tab.
- Click the Setup tab.
- In the Hierarchies box, click Tree Builder.
- In the Node field, type the top level department.
- In the GL code field, type the GL code for that department or division.
- Click Add Nodes.
- Continue building your organizational tree by selecting a parent node for additional departments.
Not quite right?
Try one of these popular searches:
Explore Control Center